基于 scylla 的代理池
优点:手工burp渗透的同时,后台Xray扫描
缺点:会被封IP,所以需要一个代理池或机场作为Xray的出口
运行逻辑:

一、Scylla Agent Pool
- 目前在
Ubuntu 18 、Darwin下测试成功 - 2021年 6月10日 星期四 15时56分53秒 CST WINDOWS测试环境
1x01 Ubuntu & Darwin
➜ cd scylla-1.1.7
➜ python3 -m pip install -r requirements.txt
➜ export http_proxy="http://127.0.0.1:8082"; export HTTP_PROXY="http://127.0.0.1:8082"; export https_proxy="http://127.0.0.1:8082"; export HTTPS_PROXY="http://127.0.0.1:8082"
#需加上科学代理,否则报错WARNING: [Worker] Cannot get this url:
#https://raw.githubusercontent.com/a2u/free-proxy-list/master/free-proxy-list.txt
➜ python3 -m scylla
2021-06-04 - 09:57:56 DEBUG: create new db connection
2021-06-04 - 09:57:57 INFO: Scheduler starts...
2021-06-04 - 09:57:57 DEBUG: feed 16 providers...
2021-06-04 - 09:57:57 INFO: Start python scheduler
2021-06-04 - 09:57:57 INFO: worker_process started
2021-06-04 - 09:57:57 INFO: validator_thread started
2021-06-04 - 09:57:57 INFO: Start the web server
[2021-06-04 09:57:57 +0800] [3848] [INFO] Goin' Fast @ http://0.0.0.0:8899
[2021-06-04 09:57:57 +0800] [3848] [ERROR] Unable to start server
···
···
···
2021-06-04 - 10:04:20 DEBUG: Get a provider from the provider queue: ProxyNovaProvider
2021-06-04 - 10:04:20 DEBUG: Catch requests.Timeout for proxy ip: 110.76.148.242
2021-06-04 - 10:04:21 DEBUG: Catch requests.Timeout for proxy ip: 160.19.232.85
2021-06-04 - 10:04:22 INFO:  ProxyNovaProvider: feed 0 potential proxies into the validator queue
2021-06-04 - 10:04:23 INFO:  PubproxyProvider: feed 5 potential proxies into the validator queue
看到PubproxyProvider返回提供的代理ip即可用:
#真实ip
➜ curl http://api.ipify.org
60.168.247.60
#代理池ip
➜ curl http://api.ipify.org -x http://127.0.0.1:8081
12.186.206.84
1x02 Windows 10
- Could not find a version that satisfies the requirement pycurl==7.43.0.1
- 1、windows pip换源
- 2、修改
requirements.txtpycurl==7.43.0.5 - 3、
python3 -m pip install pycurl==7.43.0.5 - 4、
python3 -m pip install -r requirements.txt
- Building wheel for multidict (PEP 517) … error
-
#详细报错: error: Microsoft Visual C++ 14.0 or greater is required. Get it with "Microsoft C++ Build Tools": https://visualstudio.microsoft.com/visual-cpp-build-tools/ ---------------------------------------- ERROR: Failed building wheel for multidict - 安装 VS C++ 14以上版本即可
python3 -m pip install --upgrade setuptools- Microsoft Build Tools for Visual Studio 2019 集成开发环境 (IDE)
- 下载
Community版;选择组件参考: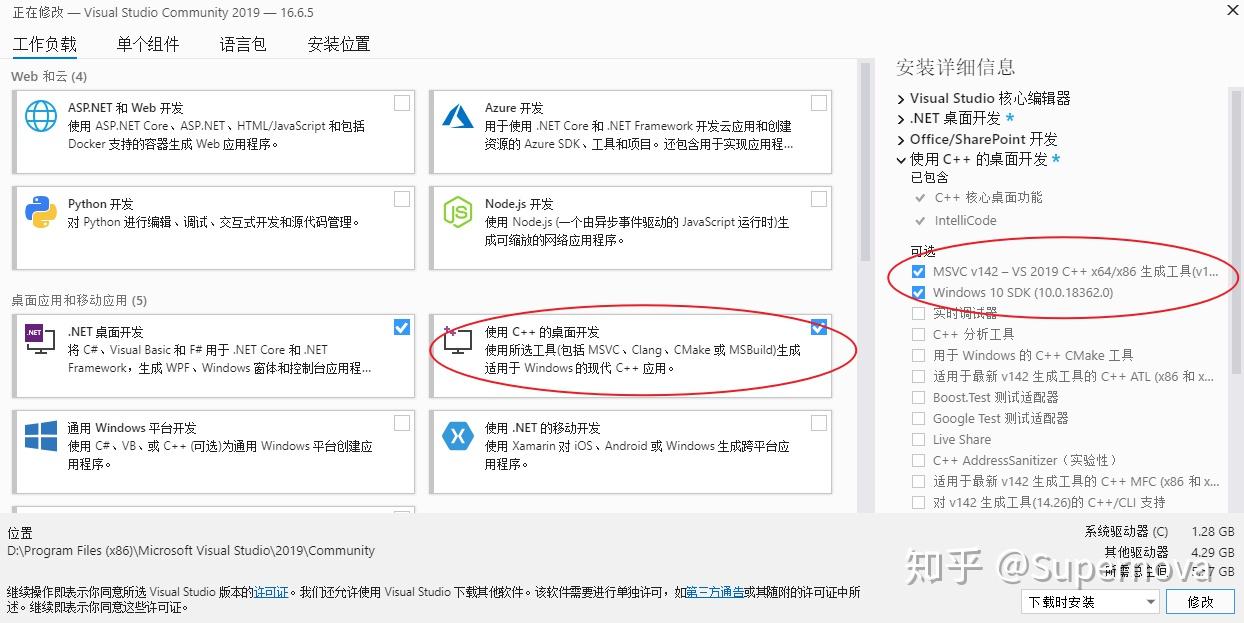
-
- npm install
  C:\Windows>npm -v
  7.15.1

  C:\Windows>node -v
  v16.3.0

  npm ERR! code 1
  npm ERR! path C:\Users\bin4xin\Desktop\scylla\node_modules\deasync
  npm ERR! command failed
  npm ERR! command C:\Windows\system32\cmd.exe /d /s /c node ./build.js
  npm ERR! gyp info it worked if it ends with ok
  npm ERR! gyp info using [email protected]
  npm ERR! gyp info using [email protected] | win32 | ia32
  npm ERR! gyp ERR! configure error
  npm ERR! gyp ERR! stack Error: Command failed: C:\Python39\python.EXE -c import sys; print "%s.%s.%s" % sys.version_info[:3];
  npm ERR! gyp ERR! stack   File "<string>", line 1
  npm ERR! gyp ERR! stack     import sys; print "%s.%s.%s" % sys.version_info[:3];
看到上面的
C:\Python39\python.EXE -c import sys; print "%s.%s.%s" % sys.version_info[:3];报错,实际上正确的写法应该是:Type "about", "copyright", "credits" or "license" for more information. >>> import sys >>> print("%s.%s.%s" % sys.version_info[:3]) 3.8.5想到几种可能性:1、scylla python的源码;2、npm安装源码依赖导致;顿时觉得这里面的坑深不可测我把握不住,遂放弃在windows平台搭建; 由于在macosOS、Ubuntu上搭建成功,只能走曲线救国方式,在docker中尝试;
BurpSuite with Agent Pool
Proxy Listeners -> 127.0.0.1 8081端口
https://www.rmccurdy.com/.scripts/proxy/good.txt

passive-scan-client
➜ git clone https://github.com/c0ny1/passive-scan-client
➜ cd passive-scan-client
➜ mvn package
➜ ls target/
archive-tmp                                       maven-archiver                                    passive-scan-client-0.1.jar
classes                                           maven-status
generated-sources                                 passive-scan-client-0.1-jar-with-dependencies.jar
passive-scan-client-0.1-jar-with-dependencies.jar导入Burp Suite:
- Extender -> Extensions -> Add
{/path-to-taget-dir/passive-scan-client-0.1-jar-with-dependencies.jar
配置转发扫描端口

xray with Agent Pool
- 扫描配置
- 浏览器配置代理
http(s)://127.0.0.1:12344Burp Suite 监听 12344 - passive-scan-client如上配置
- xray 如下配置即可
- 浏览器配置代理
➜ nohup ./xray webscan --listen 127.0.0.1:7777 --html-output output/2021-05/2021-05-28.html &
➜ tail -f nohup.out
效果:

参考
以上。